If you’ve seen my overview of Galactic Pigeon and are looking for more information and tips for shooting it, this page is for you. I wrote this to include all the things I wish I’d known the first time I tried shooting experimental film!
A little disclosure before we begin:
Most of the images here will be slightly edited to increase contrast and saturation. I’m in favor of going as wild as you like when editing film scans, especially with experimental film stocks, but I’ve kept my edits very minimal here for the purpose of showing what you can reasonably expect from Galactic Pigeon. For that same reason, I’ve shot these example photos at box speed except where otherwise indicated- but I definitely encourage playing around with exposure.
What to expect
Each frame will have different colors, with blue, purple, red, and green typically being most common. Sometimes one color will dominate the frame, and other times you’ll get several colors per frame.
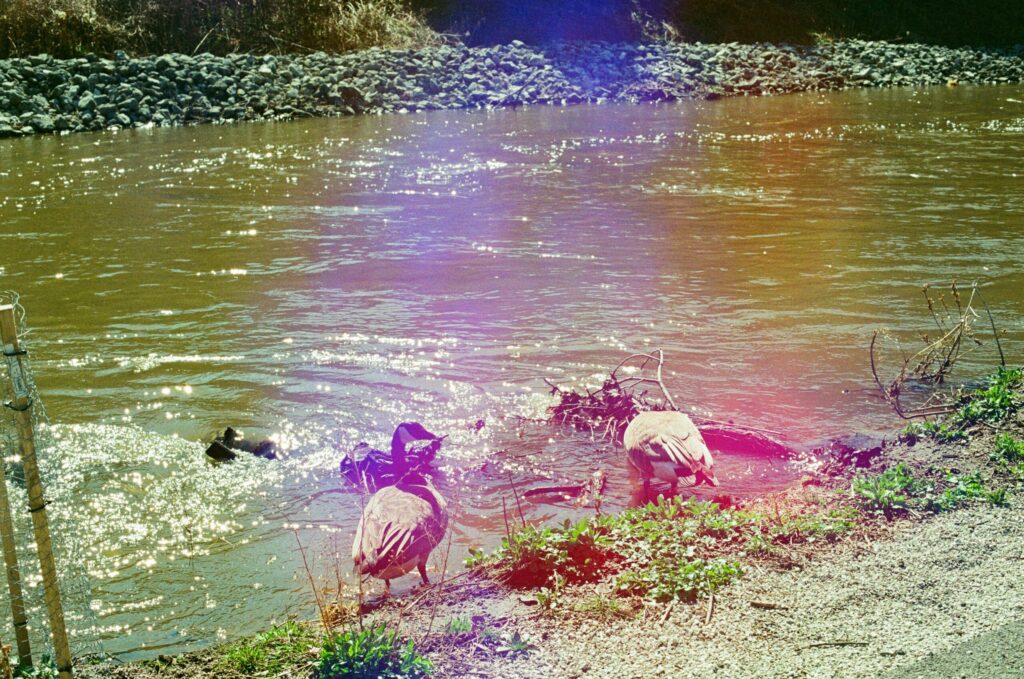
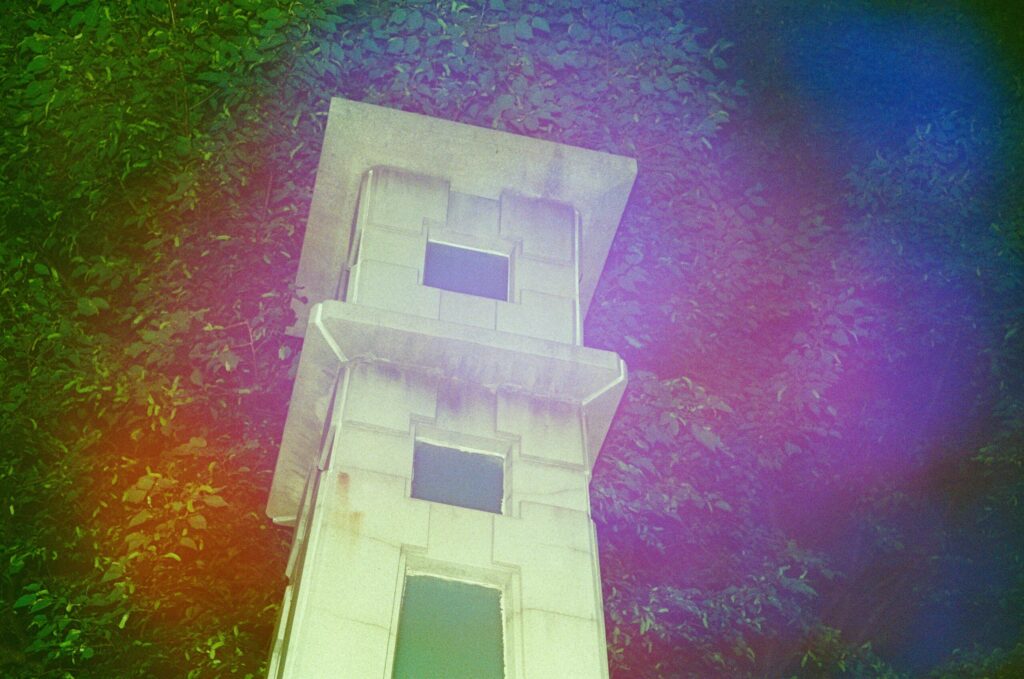
Effects may be in the center of the frame, or off to one side.
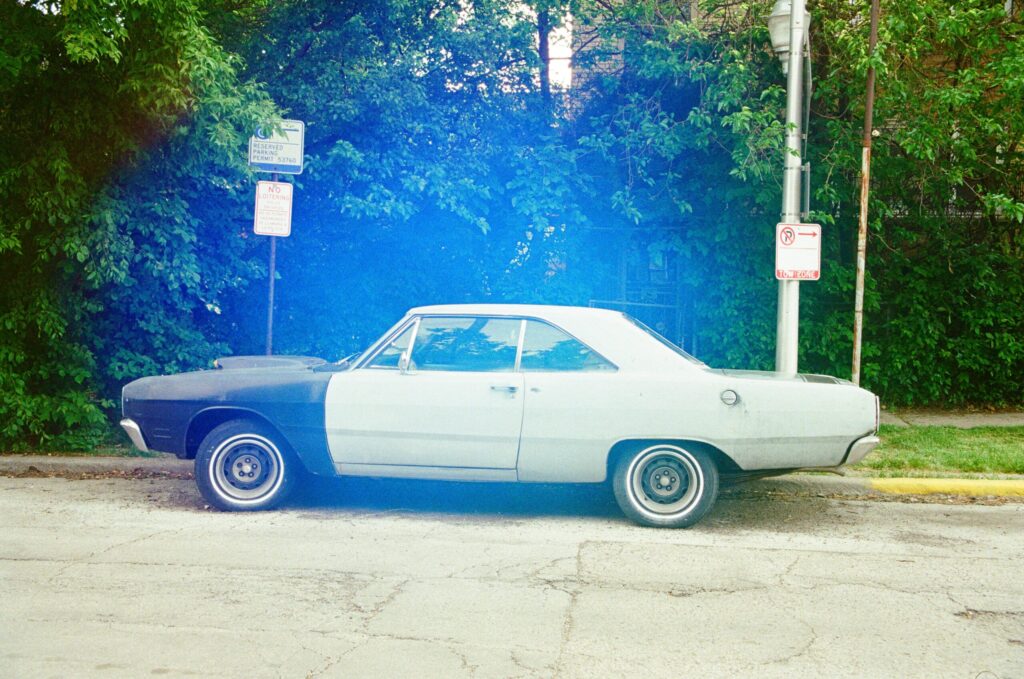
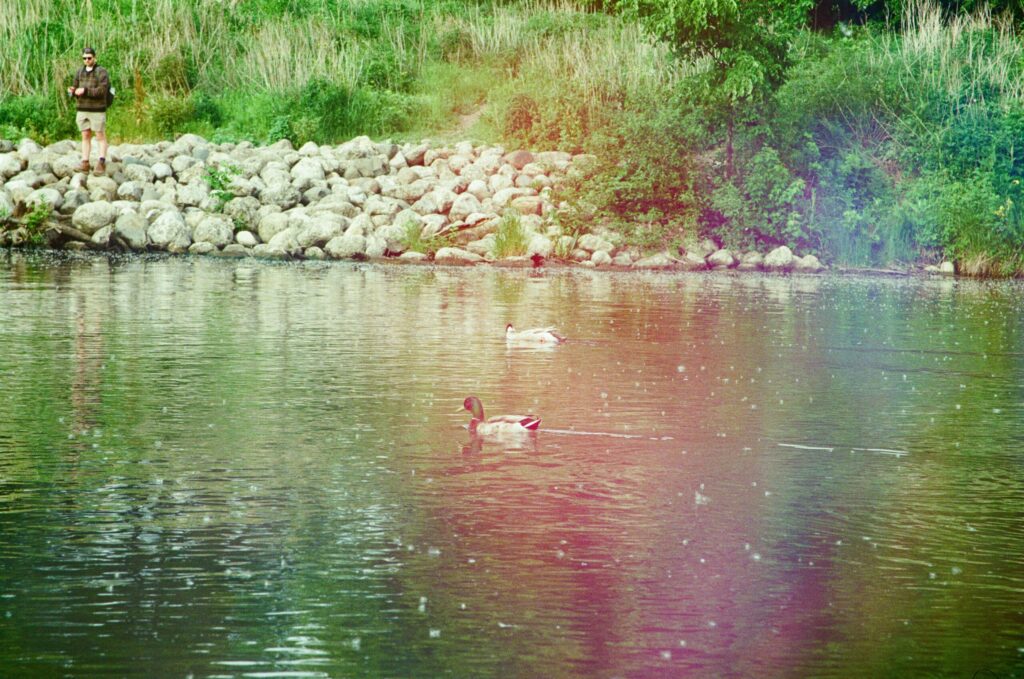
Effects do not always reach the corners of the frame, so a vignetting look is possible.
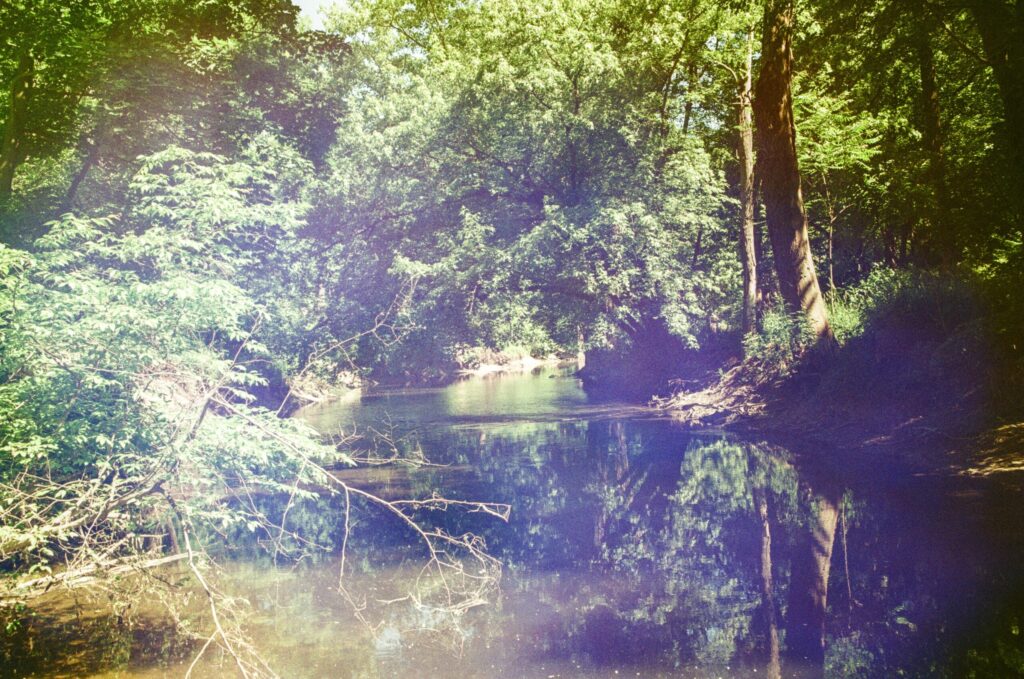
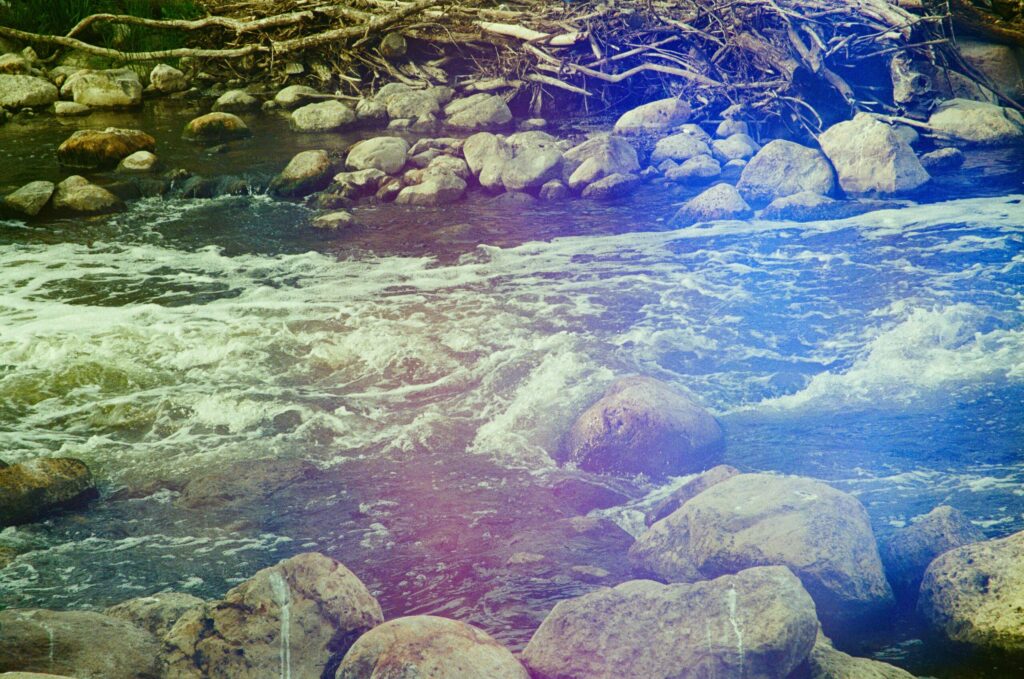
I add the effects for Galactic Pigeon separately for each frame. Since not every camera loads/advances film in the exact same way, you may see multiple effects in the same frame, with a clear division between them. Here are some results I got using a toy camera:
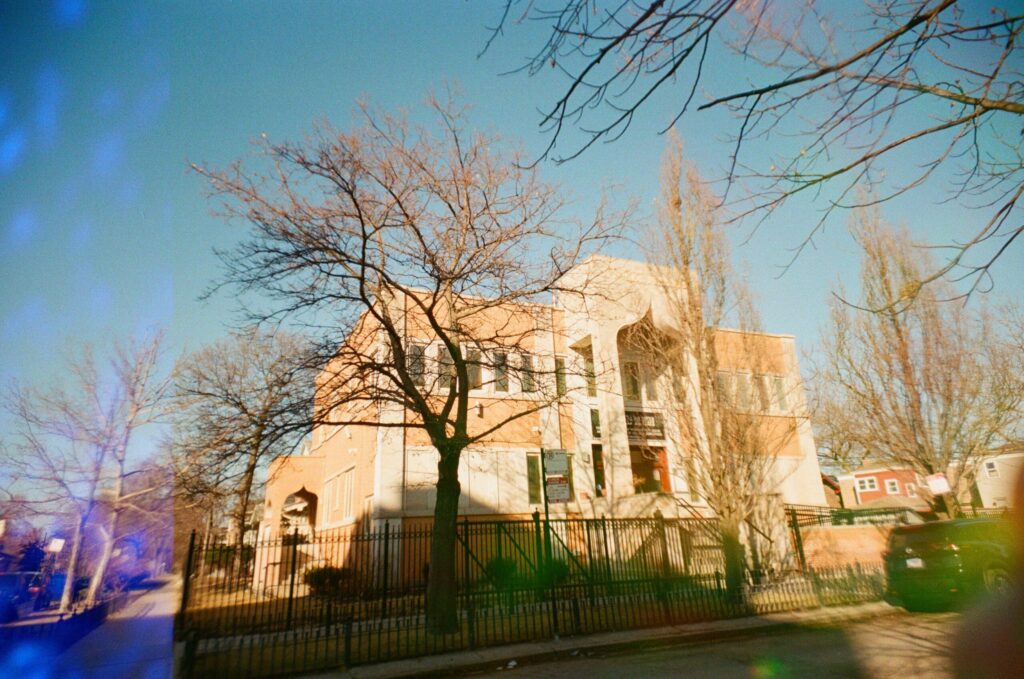
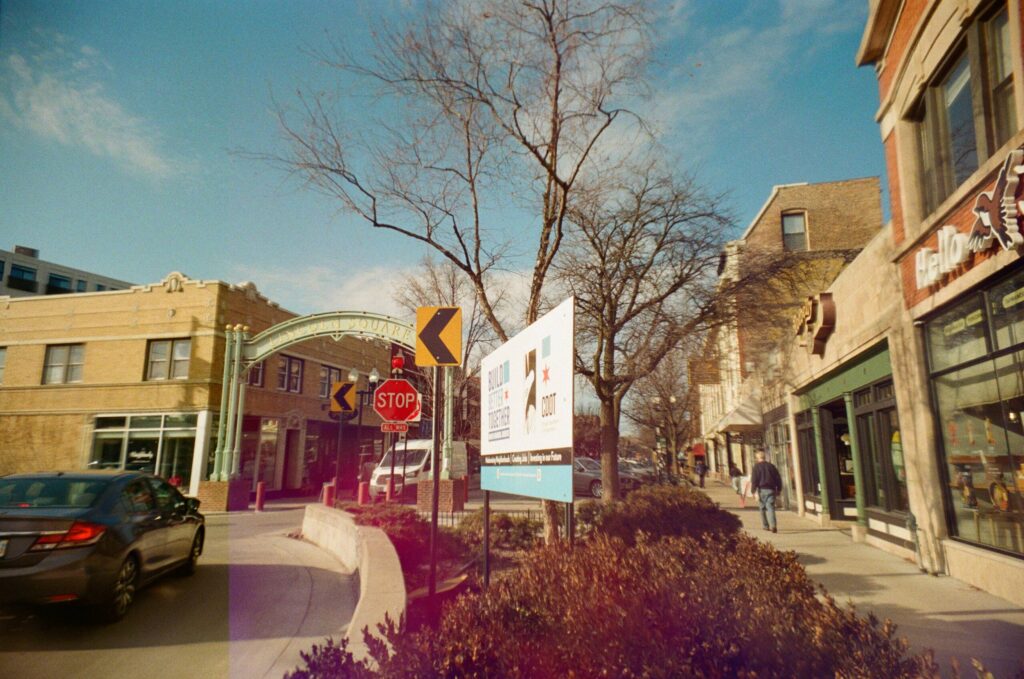
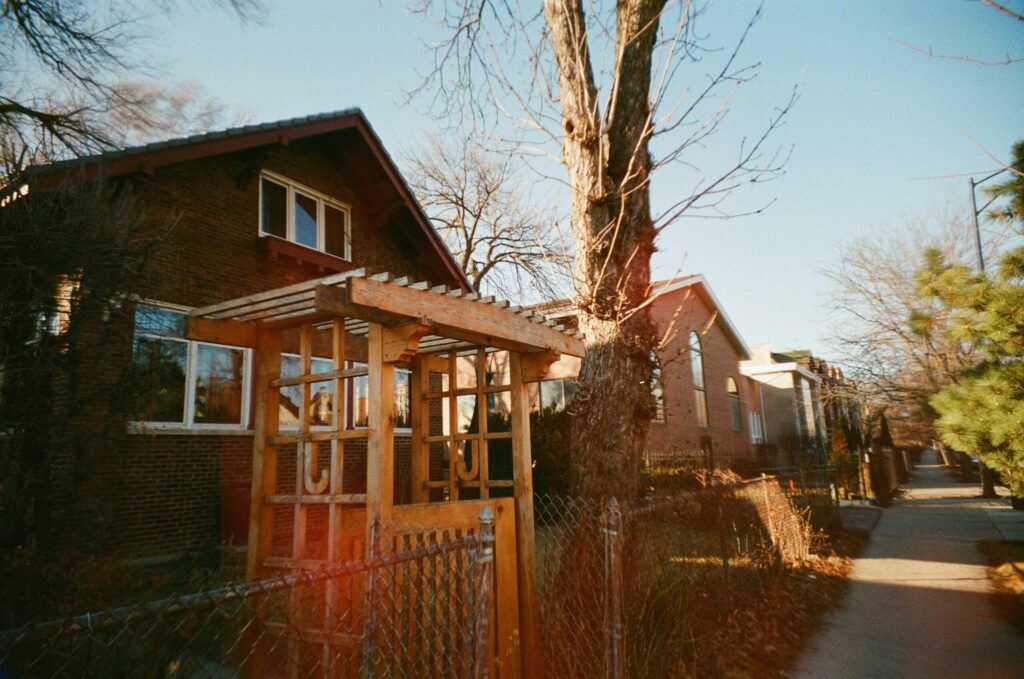
And here are some I took on a camera from the 1950’s that, of course, has manual frame advance:
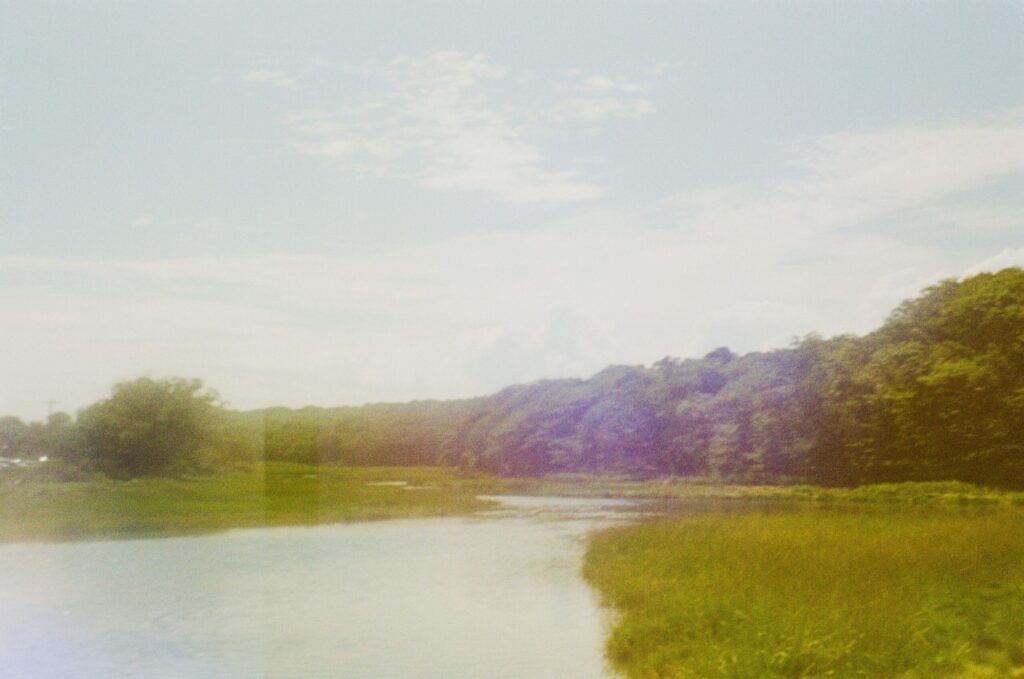
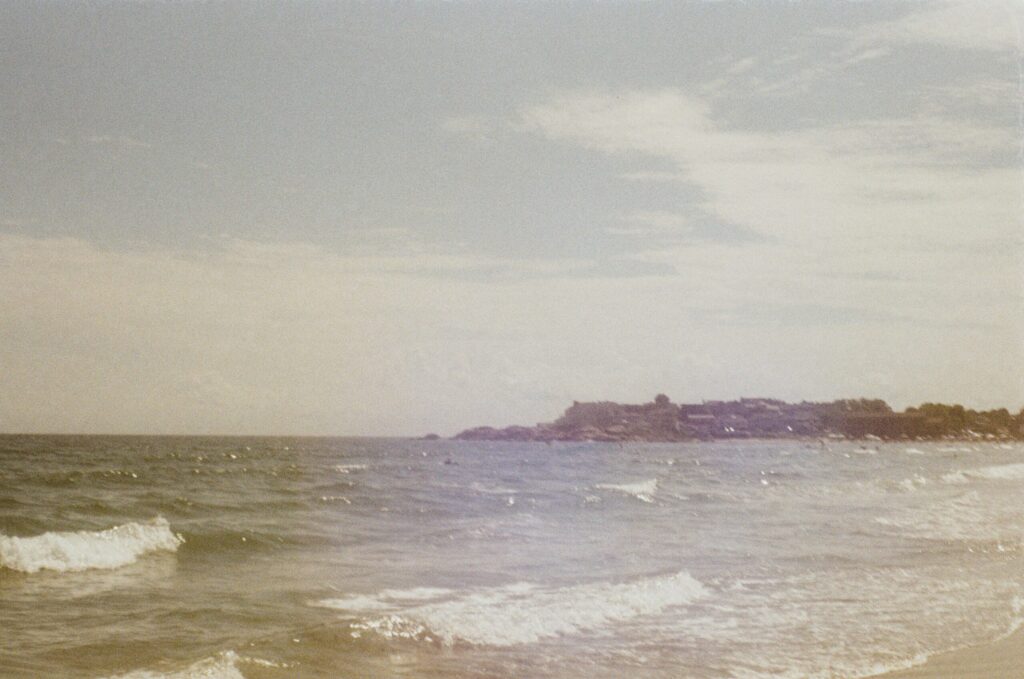
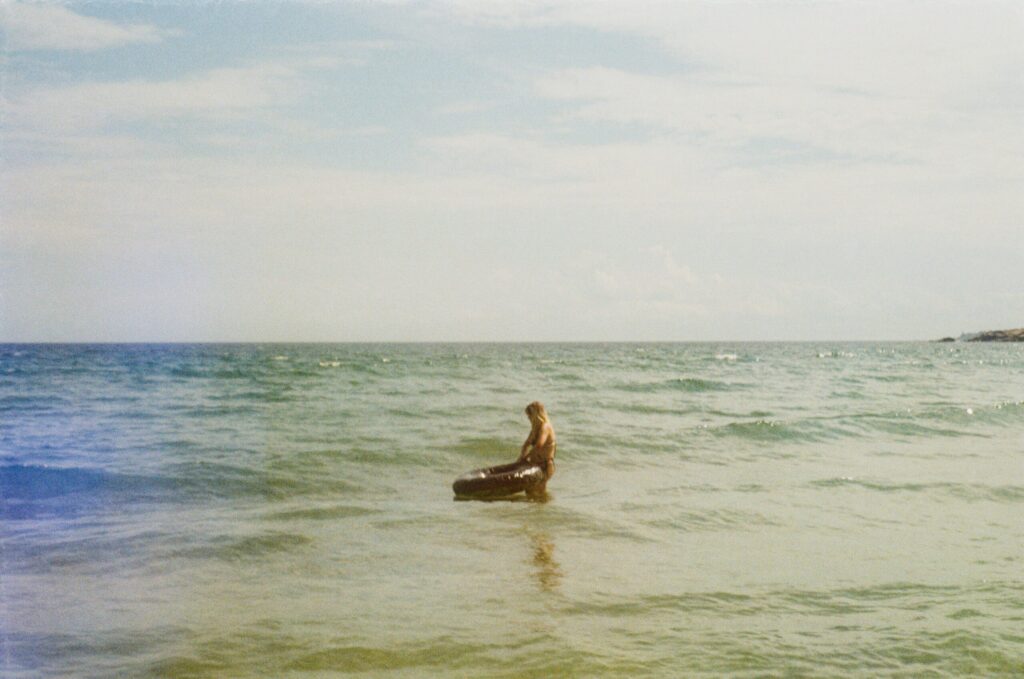
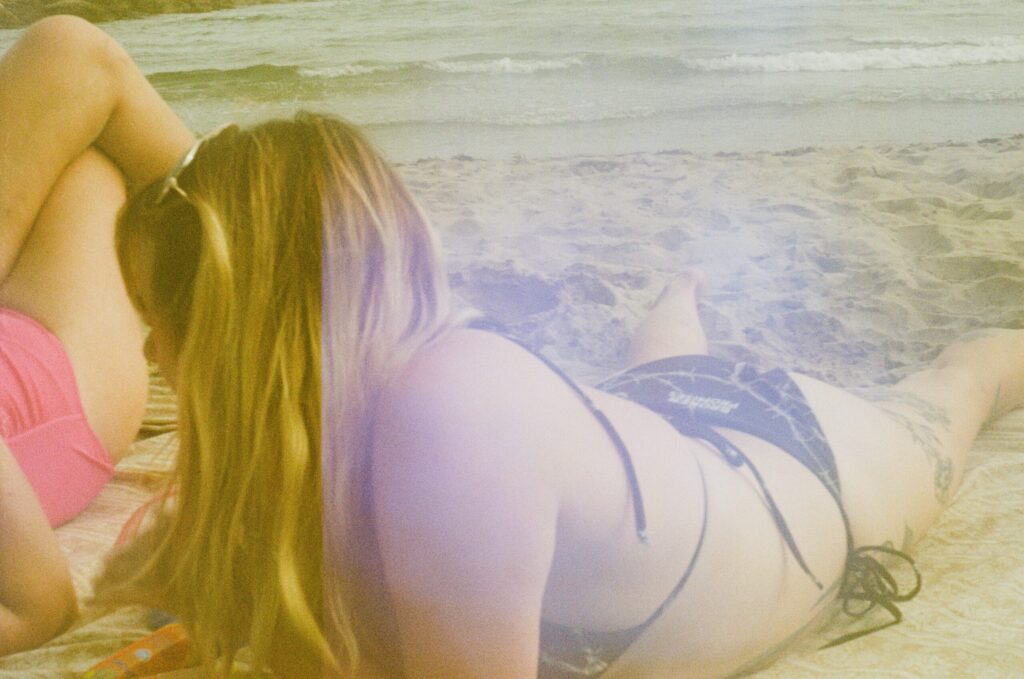
In those photos, you can see the divisions between different pre-exposed colors. As you can see, camera choice can add an extra element of chaos to this film!
Underexposure & Overexposure
With a film where every single frame is different, take comparison shots with a grain of salt. That said, pre-exposed film effects vary widely with exposure levels, so it’s helpful to know how to get the results you want. Here is the same scene three times: Exposed at box speed, overexposed by one stop, and underexposed by one stop.
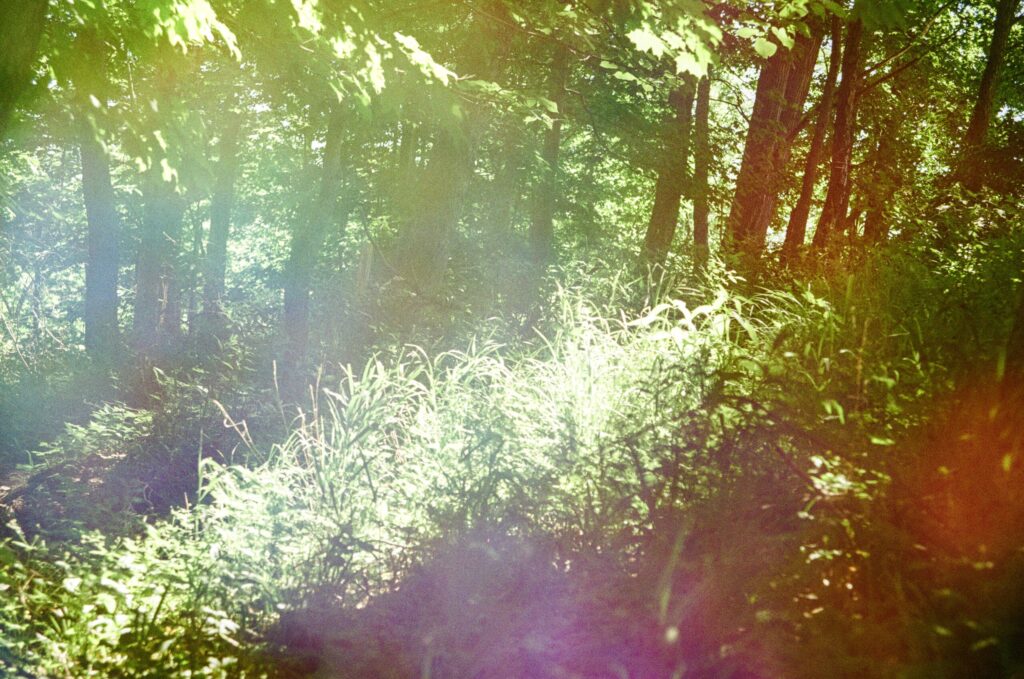
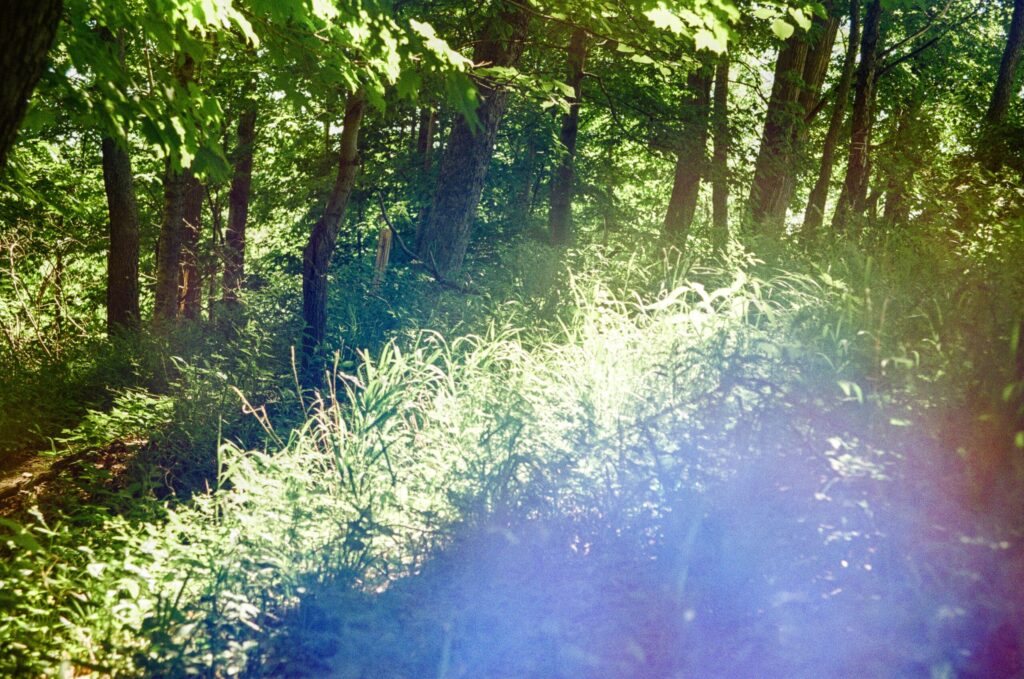
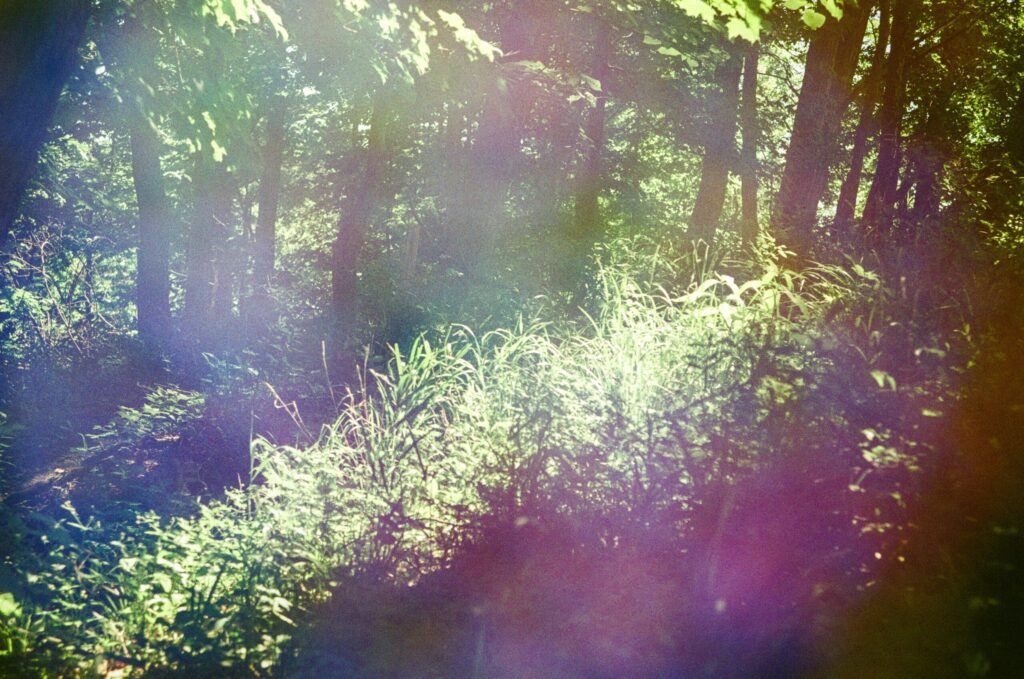
The overexposure didn’t make a big difference in this particular scene, but the underexposure is very dramatic, filling in the deepened shadows with color.
Here’s another example, though not of the same subject. The image on the left is overexposed by one stop, and the image on the right is underexposed by one stop.
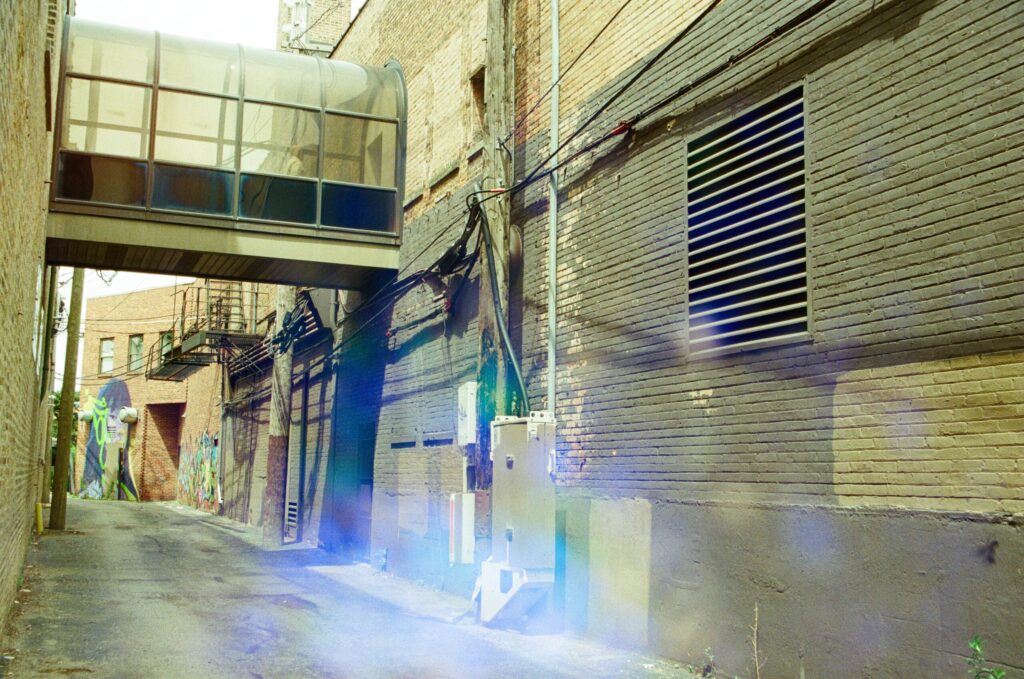
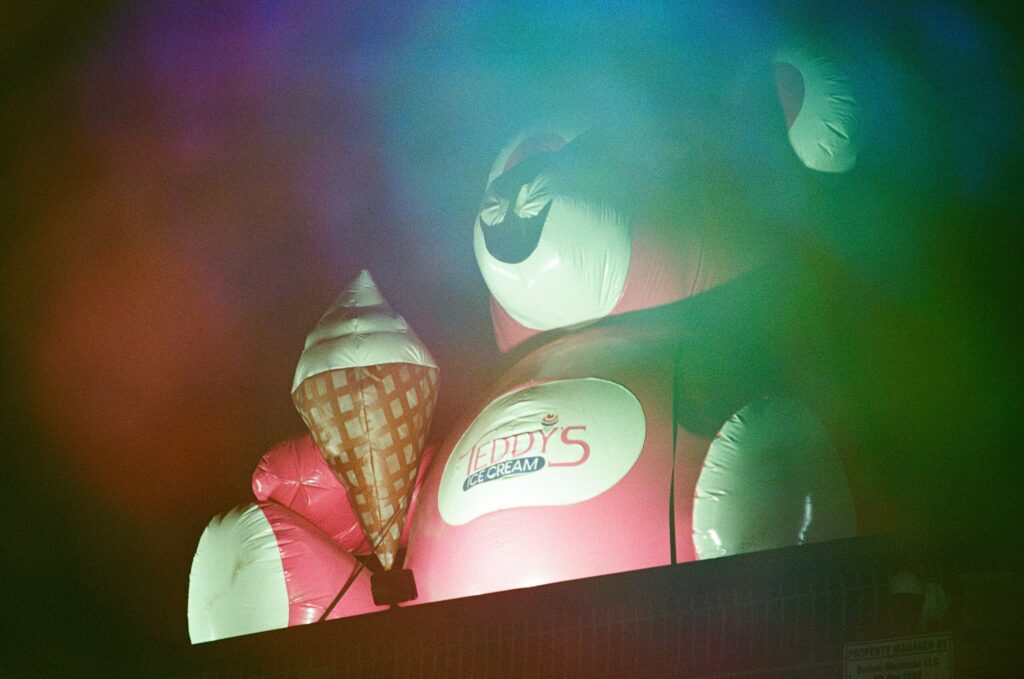
Tips for Getting the Most Out of Your Photos
If you are new to experimental film stocks, or new to film in general, read on! If you are experienced with shooting pre-exposed film, you might still find this section useful. Your personal preferences are the best guidelines for shooting, but the more you know, the more informed your decisions can be!
Exposure
Getting the exposure right is one of the biggest challenges with pre-exposed film. When shooting multiple exposures, typically you’d underexpose a little each time. In fact, I add the effects one stop underexposed, to avoid overexposed results.
But how do you meter when only part of the frame has been pre-exposed? The answer depends on what you’re looking for. Here is what I’ve found after shooting a number of rolls, both of Galatic Pigeon and other altered film stocks.
Contrast & Shadows
My preferred way to shoot pre-exposed & tinted films is to seek out contrast. Effects tend to be most powerful in strong shadows. Underexpose too much and you lose clarity. Overexpose too much and you lose all detail.
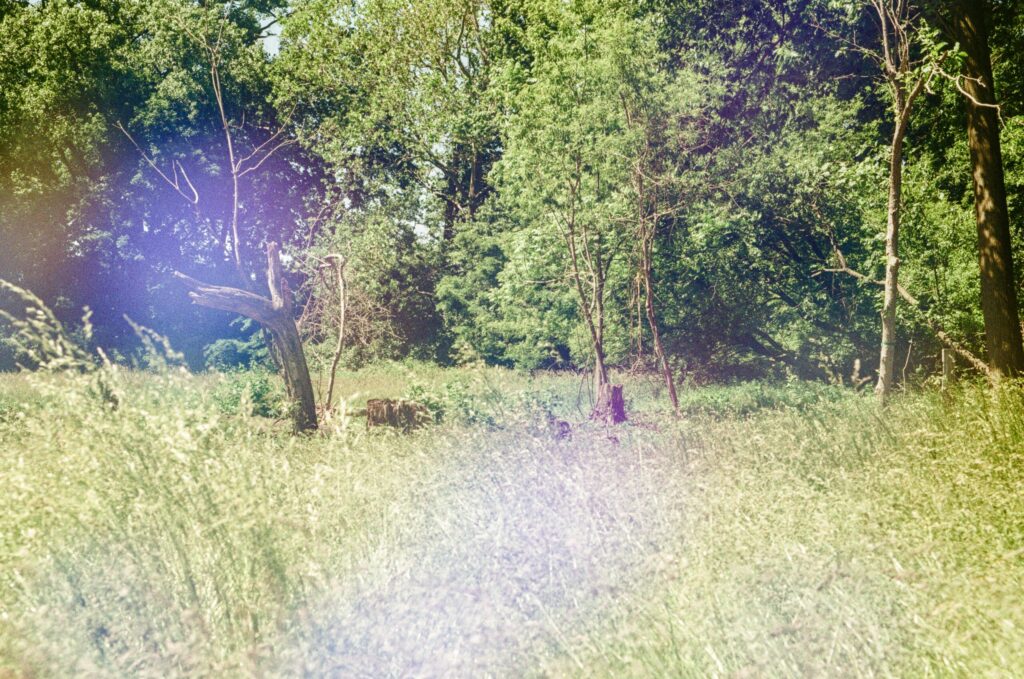
You can see in the photo above that the shadows on the trees have turned bright blue, while the leaves look fairly normal. The grass, meanwhile, looks extremely pale.
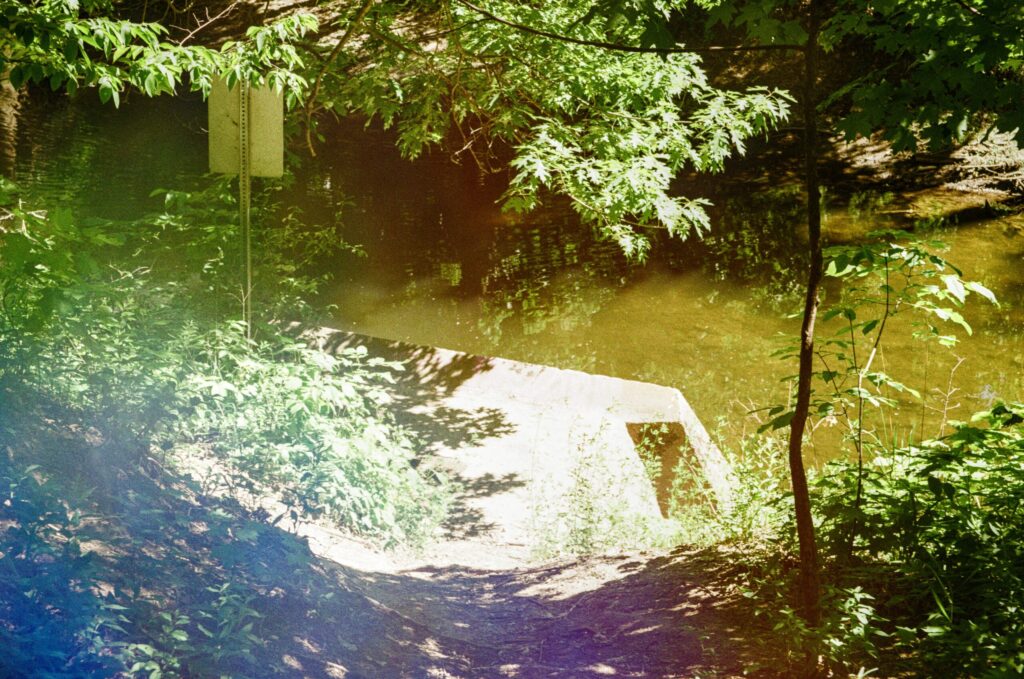
Here, the bright light on the concrete creates stark contrast against the blue, purple, and green shadows surrounding it.
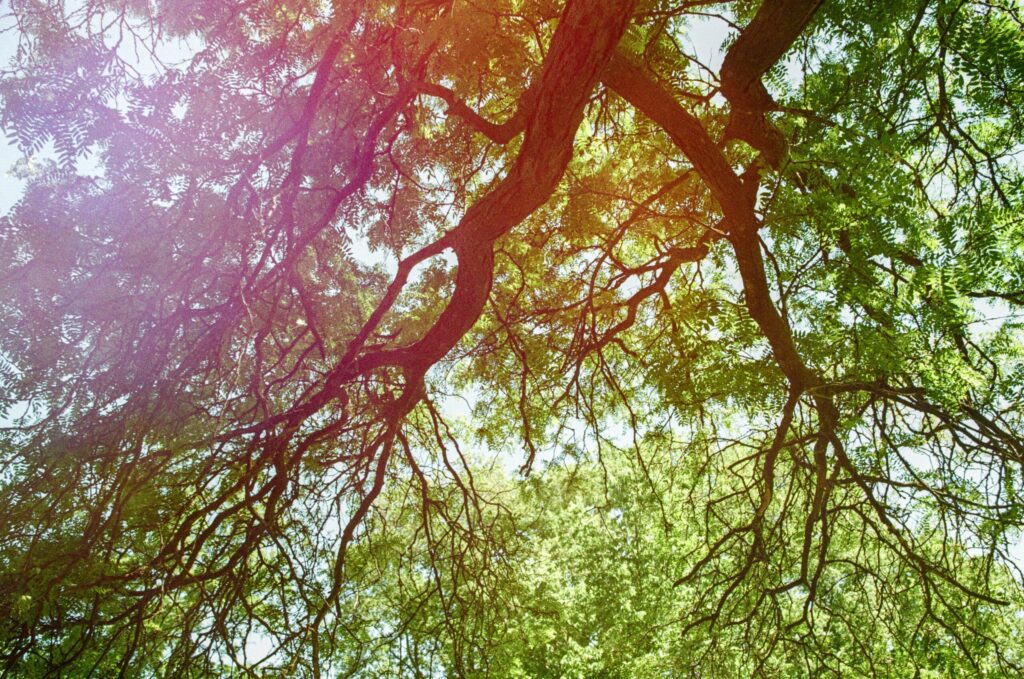
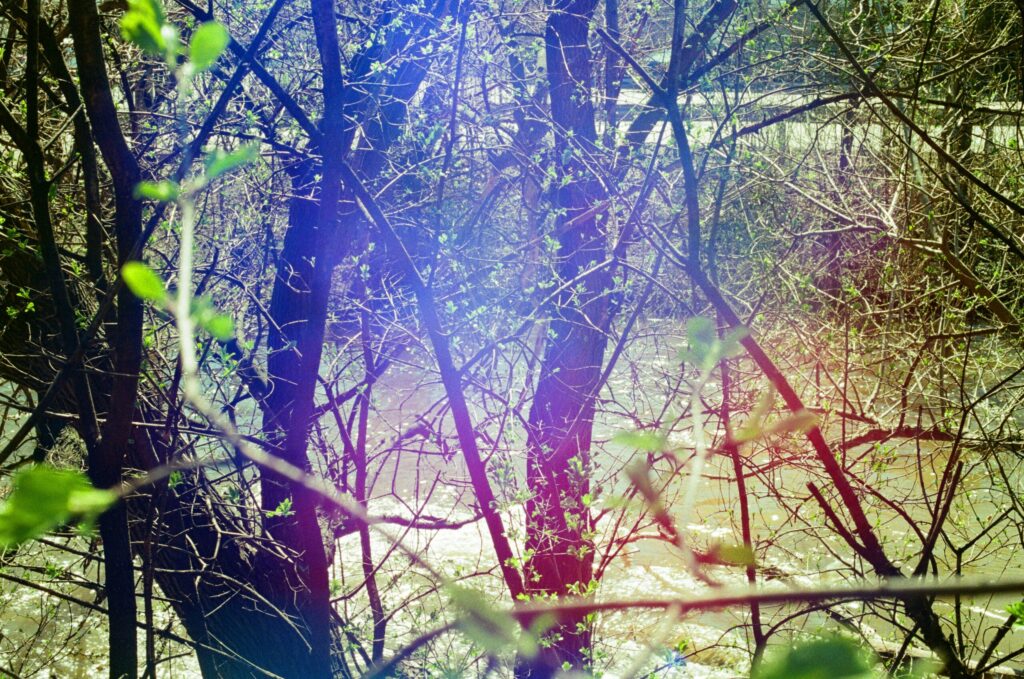
Backlit subjects- typically requiring exposure compensation- can work to your advantage in this case. Silhouettes can become filled in with vivid colors.
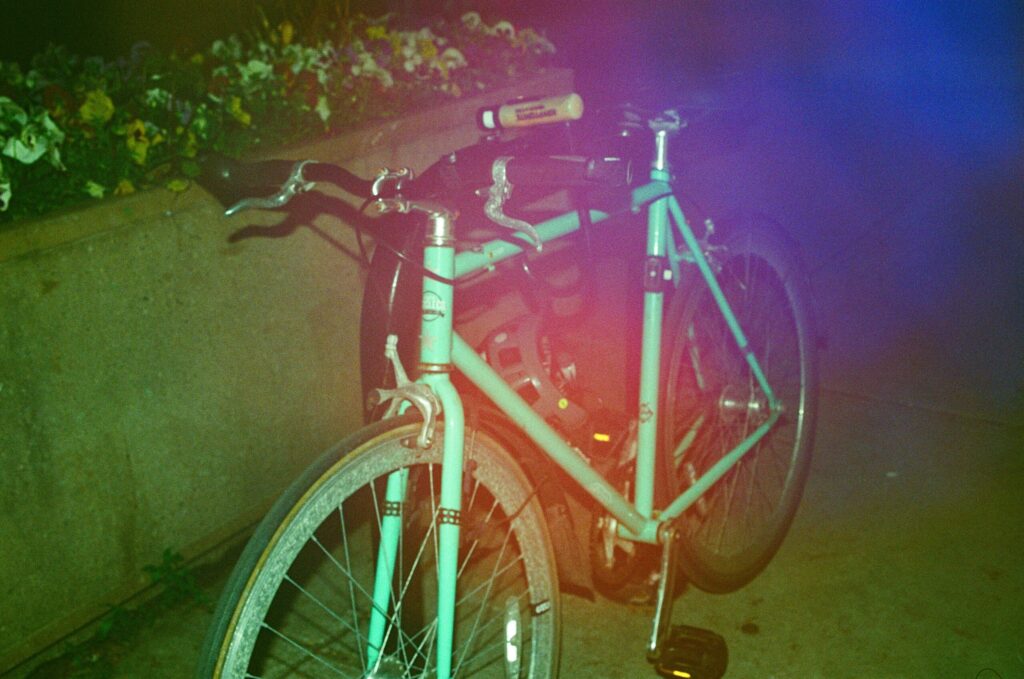
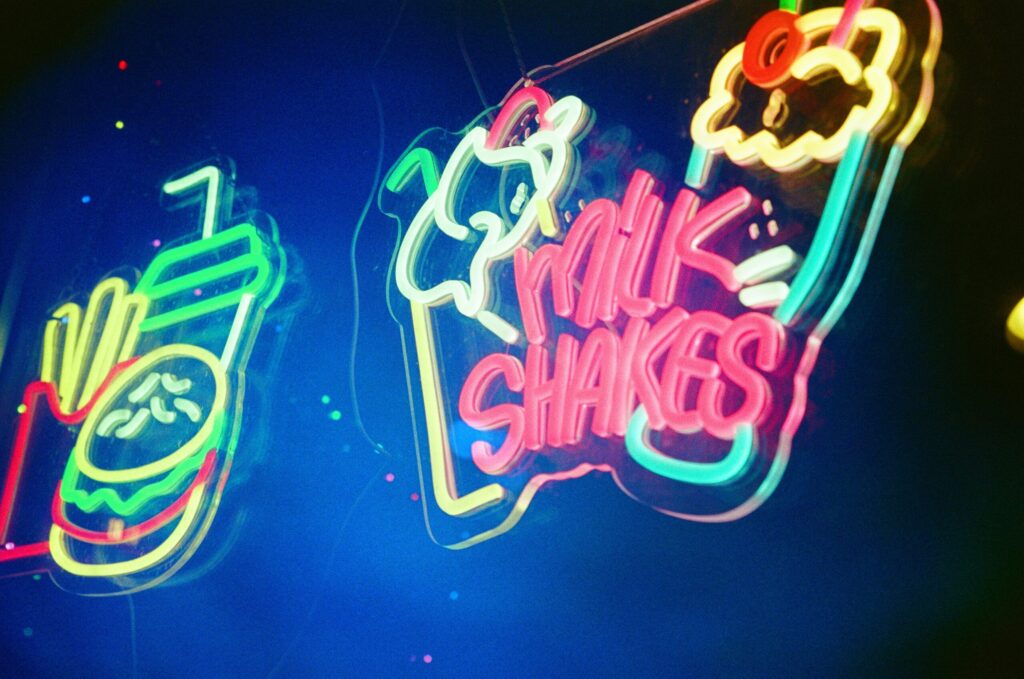
Night photography has its challenges, but it also provides some natural contrast, especially if you’re using flash or shooting neon lights.
What do you prefer? Try shooting under a variety of conditions. You might surprise yourself. If you’re ready to try Galactic Pigeon, you can check Ebay for pricing & availability.
The Final Steps
Before we part, a note on editing Galatic Pigeon:
I love editing scans of “weird” film stocks. Knowing that you can’t possibly color-correct things to neutral can be very freeing. There’s a lot you can do with free software- all my scans are edited with either Photopea or Darktable.
For example photos, I keep things simple. I increase contrast, typically deepening the shadows while leaving the highlights unchanged. I also increase saturation in the shadows and midtones, leaving the highlight saturation either untouched or slightly decreased. I keep all these adjustments minor, giving results that have a bit more punch but look very similar to the original scans.
A little bit goes a long way. But there’s no reason you can’t do a lot. Go wild! Ramp up the saturation! Shift the colors! The sky’s the limit, and I can’t wait to see what you make.